|
| 409-3 | Print | Close [X] |
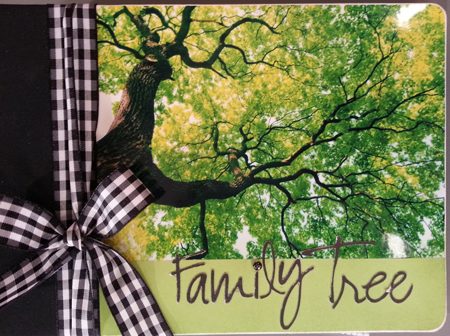
Stacy Julian shows how to make a family tree album.
|
|
6 x 6 Family Tree Mini Album
By Stacy Julian
Overview
You can get more scrapbooking done (faster) when you break down big, overwhelming projects into smaller “snack-sized” portions. I love creating mini albums with a limited set of products and a very simple design. This allows me to finish a project in a weekend and get to gathering and recording the important information and stories. This album will help you document names, birthdates, birthplaces and a few stories connected to four generations of your family tree. The size is both inviting and digestible, which means family and friends can dive in and spend some time with very important people!
Instructions
- Start with a 6”x6” Mini Album and 10 page protectors
- I try and find one photo to inspired my color and product choices for projects like this. I use that photo either on the front of the album or on it’s title page
- Pull 3 or 4 full sheet of pattern paper 12”x12” that coordinate with your photo or the look and feel of your album, and cut them into 6”x6” pieces.
- Map out your project by placing sticky notes on the empty page protectors. As you prep each of your planned pages for photos, you can slip them down inside the page protectors. This helps keep your workspace clear and helps you SEE the progress your making.
- Keep page layouts very simple and repeat the basic design scheme for a strong feeling on continuity in your finished project.
- Design a title and ending page that feel a bit more special and your whole project will take on an upgraded feel, even though the filler pages are very simple!
- When it comes to finding and printing vintage photos, use technology to your advantage. Rather than scanning one-of-a-kind photos, I snap a photo of them with my smart phone and then print them on my personal photo printer. I’ve been very happy with the quality of these prints, and it’s EASY to do!
- Use tools like an electronic die-cutting machine to add custom titles and shapes or designs to your album pages.
TIP: With projects like this I like to build the foundation of my entire album (all of the pages) before adding photos or information/stories. I don’t get hung up trying to track down photos and once I have a mostly-finished book, I’m much more motivated to add the photos and stories.
For more information visit www.bigpictureclasses.com .
Julie Fei-Fan Balzer & Stacy Julian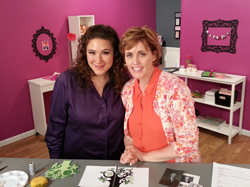 |
|