|
| 403-1 | Print | Close [X] |
Jenny Barnett Rohrs shows how to create your own stencil and learn about masking.
|
For More Information Visit: |

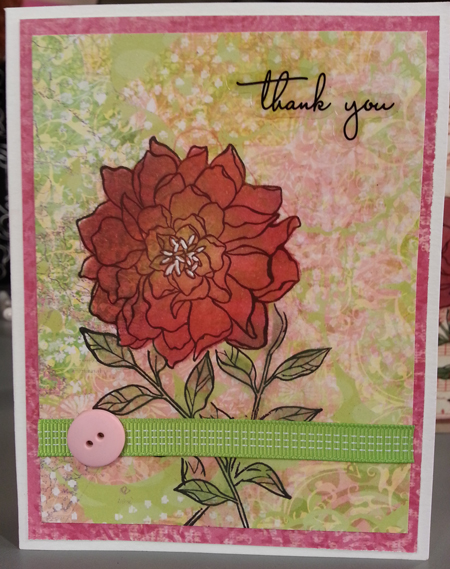
Stencils and Masks Card
By Jenny Barnett Rohrs
You can make your own stencils and masks using the Brother ScanNCut and your favorite rubber stamps. It's actually pretty easy once you get the hang of it, and you will save a small fortune in manual dies!
Materials needed:
- Brother ScanNCut
- white cardstock
- stamp with a closed outline
- black stamping pad
- recycled manilla folder or clamshell plastic
- Fine tip permanent marker
- washi tape
Instructions:
- Stamp your image on the white cardstock using the black ink. Make sure the outline of the stamp is nice and solid- use a thin marker to fill in if necessary.
- Scan the image into the machine, and save into the library.
- Load the mat with the clamshell plastic and secure with tape.
- Set the blade depth: 6, set pressure: 9
- Cut- and you can cut it twice for good measure if you need to.
- Now you have a positive (mask) and a negative (stencil.) I suggest you mark the stencil so that you know how it aligns with the stamp.
Now you can create the project- a layered stamped card! For this you'll need:
- Stamps
- Stencil and Mask combos
- Black stamping ink
- Clear embossing powder and heat tool (optional)
- Pan Pastels or chalks
- Mini Distress Tool or chalk applicators
- white gel pen
- washi tape
- Cut your patterned paper to fit your card base. Mine is 3.75" by 5".
- Stamp your image in the middle of the card using the black stamp pad; emboss if you like using the clear embossing powder and heat tool.
- Place your coordinating stencil over your stamped image, taking care to align it properly. Use washi tape to secure it to the table.
- Color your image with Pan Pastels or chalks.
- Remove the stencil; apply the mask to the stamped/colored image. Decide where your next stamped image will go. Then use the washi tape to secure the mask to the paper avoiding this area.
- Repeat the stamping/embossing steps and the stencil/coloring steps as many times as you like to build your design.
- Finish off by adding a few accents with white gel pen.
For more information visit www.crafttestdummies.com
Julie Fei-Fan Balzer & Jenny Barnett |
|