|
Sand, Paint, Dye
by Beth Madland |
| Materials
Needed |
 |
 |
Fiskars: Scrapboss, Dreamy stencil,
embossing stylus |
|
Paper: Cardstock: Bazzill and Die Cuts
With a View |
|
Dye: Making Memories |
|
Other: stamping ink pads, walnut ink,
sanding tool, fibers and ribbons |
| |
|
| |
|
| |
|
| |
|
| |
|
| |
|
| |
| Instructions |
| How to
emboss: |
| 1. |
Rub wax paper on one side of the
cardstock.
|
| 2. |
Slip cardstock in between the two
stencils attached to the Scrapboss embossing system. |
| 3. |
Using the large end of the embossing
stylus, rub along the inside lines of the design. For a deeper
impression, go over the embossed areas with the smaller end of
the stylus. |
| How to distress
the embossed design:
|
| 1. |
Cut out the embossed design.
|
| 2. |
Use a sanding block or piece of sand
paper and brush over the embossed design. If your paper has a
white core then you’ll rub off the color and the white will
show through. You can sand on the embossed side for a different
look. |
| 3. |
You can take this same distressing
approach to the edges of photographs and to the entire page. |
| How to ink:
|
| 1. |
Take the lid off the ink pad. Drag
the ink pad along the embossed design. This will add ink color
to the raised edges of the embossed design. |
| 2. |
Repeat the above process but add
it to the edges of the entire scrapbook page, to photos and to
other embellishments. |
| How to dye embossed
designs:
|
| 1. |
Mix dye and water following the instructions
for the dye of your choice.
|
| 2. |
Dip embossed cardstock design into
the dye and let it sit. The longer the paper remains in the dye
the deeper the color.\
|
| 3. |
Remove the paper and store the dye.
You can dry the design flat on some paper towels or hang it from
a drying rack. |
| |
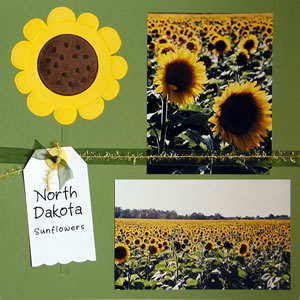
I used each of the above processes to
do three different scrapbook pages using the same embossed design
from the Fiskars Dreamy stencil. |
| Sponsor:
Fiskars |
|