Use the light blue paint marker to color the edges of each acrylic “page”. The following additional techniques were used on the pages of the acrylic album:
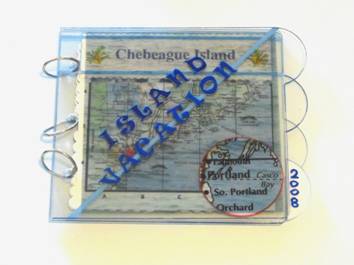
Cover: Metal adhesive letters were colored with dark blue paint marker to create the title. A light blue diagonal line was drawn on the back of the acrylic sheet to highlight. Optional: I printed a photo of the ocean onto a self adhesive ink jet transparency sheet, then adhered it to the back of the cover.
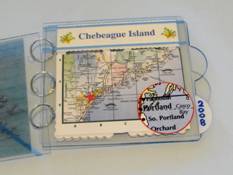
Page 1: Scan then print a copy of the map onto photo paper. Cut to size. (Determined by the size of your album.) Print a title onto photo paper. Cut out with wave blade then run the edge of the light blue chisel tip marker along each edge to highlight. Trim to same width as the map. Using spray adhesive, adhere the map and title to the back of the acrylic page. Enlarge the area of the map, print then cut out with the circle punch. Outline the edge of the circle with the red marker. Adhere to the front. Color the back of the tab with white; write the year on the front of the tab.
Pages 2 & 3 Pages 4 & 5
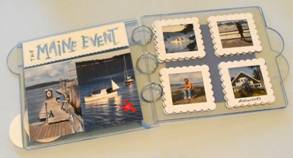
Page 2: Size, then adhere photos to the back of the map. Use the back of the title photo paper for additional title or caption using the paint marker and gel pen.
Page 3: Use square scalloped punch to cut 4 photos. Create square scalloped frames from white card stock as follows: Punch square opening first, then holding the punch upside down, position the scalloped punch around the opening. Punch to create the frame. Adhere frames to front of acrylic page with glue tape. Spray the front of the photos, align then adhere to the back of page 3 behind the frames.
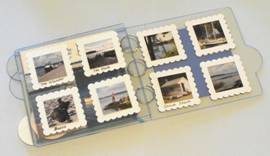
Pages 4: Punch small photos with the square punch then adhere to center of scalloped square. Photos and frames were adhered to page 5 in the same manner as page 3. If this is the final page of your album, adhere a contrasting color of cardstock to the back of this page on top of photos.
Embellish pages with stickers as desired then add captions to frames with the gel pen.
Happy Crafting!
|