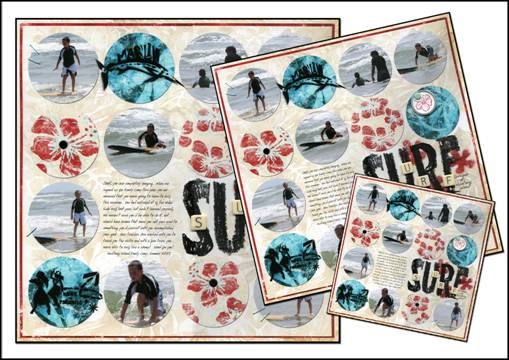
One of the ways to find new uses for older layouts is to resize them to give as gifts or hang on your walls as home decor.
One of the wonderful advantages to today's technology is that once you create a layout, you can print it over and over. Imagine it ... in a few minutes, you can print a 12x12" layout for yourself, then give a 8x8" to the grandparents, print a 6x6" for your child's own album, or even print a 4x4" to carry in your pocketbook!
Resizing your layouts for print is easier than you might think.
If you are using a traditional or hybrid layout like this one, first scan it to digitize it.
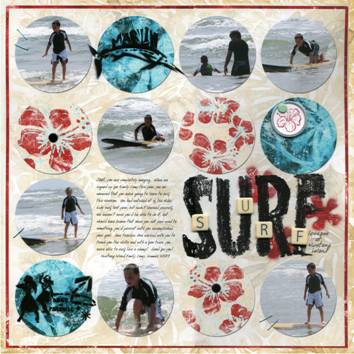
If your layout was created digitally, you already have it in a digital format.
Begin by opening your layout in Photoshop Elements.
Select File | Print to bring up the Print Preview Dialog window.
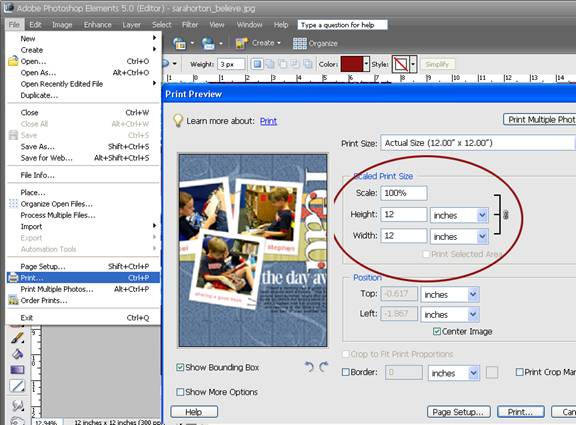
Your layout scale will default to the size in which you created the document. In this case, we created a 12x12" layout.
To change the size of the layout for printing, type in the new height and width. For example, to print this layout as a 6x6" scrapbook page, we changed the numbers from twelves to sixes before clicking Print.

This is a desirable and nondestructive method of changing the size of your layout for printing because it doesn't change your original file at all. It simply communicates the new size to your printer!
|