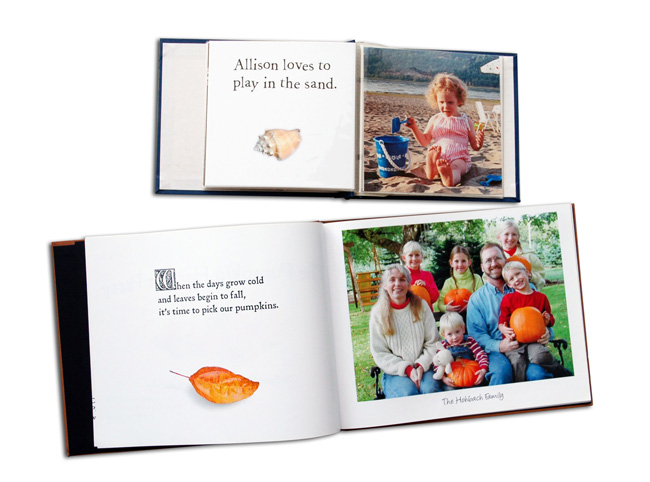
If possible, photograph the object you want to use against a contrasting background.
- Open the photo of your object in Photoshop Elements (File > Open).
- Get the Quick Selection Tool.
- Click and drag over the object in your photo to select it.
- You can let go of the mouse and then click in small areas that you may have missed to add them to your selection.
- Once you have a good selection, click on "Refine Edge" in the Options Bar.
- When the dialog box comes up, use 3 for the Smooth value.
- Use 1 or .5 for the Feather value.
- Move the "Contract/Expand" slider to the left until the selection outline moves slightly inside the edge of the object you selected (around -40%). Click okay.
- Choose Edit > Copy, move to your picture book page, and choose Edit > Paste.
- To resize the object so it fits your page, get the Move tool and make sure "Show Bounding Box" is checked in the Options Bar. Click and drag from a corner handle until you reach the size you want. Click on the check mark under the bounding box to accept the change.
- If you want to add a drop shadow, open the Effects palette. Click on the second icon to get Layer styles, and then choose drop shadows from the menu on the right. Double click on a drop shadow icon to apply it.
- To adjust the drop shadow, double click on the effects icon that appears on the layer of your cutout. When the Style Settings dialog box comes up, move the sliders to adjust the shadow, and click okay.
|