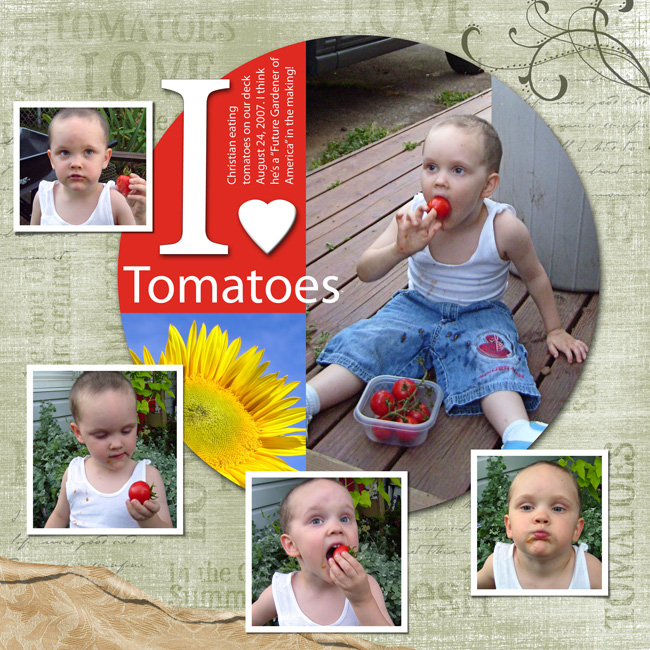
Here's how to easily create a photo circle with your computer.
- Click on the Foreground Color Chip to get the Color Picker. Select the color you want for your circle, and click okay.
- Get the Ellipse tool, click on your document, and drag out an outline while pressing the Shift key to maintain a perfect circle.
- Let go of the mouse, and then let go of the Shift key. The outline will fill with the Foreground color.
Here's what to do if you want to move the outline to a different location as you're creating it:
- Click on your document and drag out an outline while pressing Shift, but don't let go of the mouse.
- Press the Space Bar to change the mouse action from resizing the outline to moving the outline.
- Let go of the Space Bar to change the mouse action from moving the outline to resizing it again.
- You can go back and forth between resizing and moving the outline until you get it exactly the way you want it, but you must do it before you let go of the mouse.
- When you're satisfied with the size and position of the circle, let go of the mouse and then let go of the keyboard keys.
To Divide the circle into photo sections:
- Right click (Mac: Control click) on the circle layer in the Layers palette and choose Simplify Layer from the pop up menu.
- Get the Rectangular Marquee tool and click and drag an outline over a section of the circle.
- Press Ctrl Shift J (Mac: Cmd Shift J) to cut that section from the circle and place it on a new layer.
- Open the photo you want to use in that section of the circle (File > Open).
- Get the Move tool, and click and drag the photo over your circle.
- Choose Layer Group with Previous so it will only show up where there are pixels on the layer below.
- To resize the photo, get the Move tool and make sure "Show Bounding Box" is checked in the Options Bar. Click and drag the photo to resize it, and click on the check mark next to the bounding box to accept the change.
- To reposition the photo, click inside the Bounding Box outline and move it.
How to add a photo to the other circle section:
In the Layers palette, click on bottom circle section layer to select it.
Open the photo you want to use on this section (File > Open) and follow the same steps to move it onto your scrapbook document, and group it with the layer below.
|