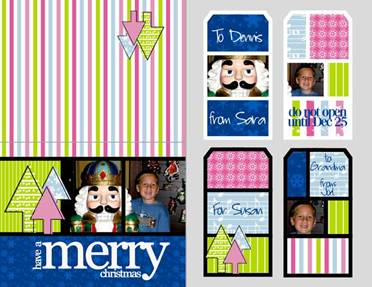
With today's busy lifestyles, we are always looking for ways to save a few minutes here and there. One timesaving tip is to create a few cards or tags each time you create a digital layout. Once you have all of the digital papers and elements open in Photoshop Elements (or other graphics editing program) to create a scrapbook page, creating a card or tag takes just a few quick minutes. After you create the card, you can print a small stack of them to have on hand for the next time you need a greeting card. With the time you save, you'll be able to create a few more scrapbook pages!
Using our free, downloadable card and tag templates streamlines the task for you, saving you even more time! To get started, download a template and open it in your graphics editing program the next time you are creating a digital scrapbook project.
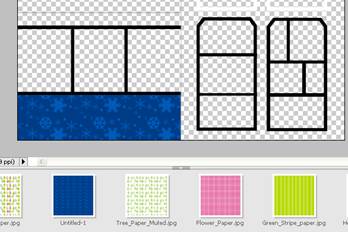
 How to Use the Card and Tag Templates: How to Use the Card and Tag Templates:
Note: These .png templates can be used in many graphics editing programs. We have chosen Photoshop Elements.
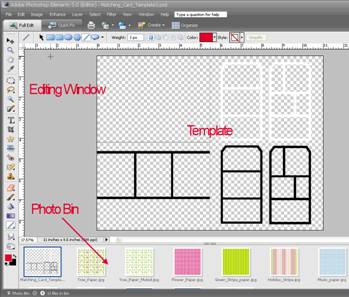
Open digital papers, embellishments, photos and templates in Photoshop Elements by selecting File | Open from the Menu Bar.
Tip: There are many digital kits available free of charge at http://epsoncreativezone.com.
To fill the spaces in the template, begin by clicking on the template in the Photo Bin. This brings the template up into the large editing window.
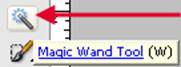
Select the Magic Wand tool.
Check the Contiguous option in the Options Bar.

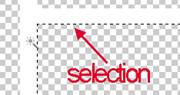
Next, click on one of the spaces you'd like to fill in the template. Doing this creates a selection which is indicated by marching ants surrounding the box.
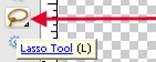
 Select the Lasso Tool then slide your cursor inside the selection. Click and drag the selection (marching ants) down onto a digital paper or photo in your photo bin. Select the Lasso Tool then slide your cursor inside the selection. Click and drag the selection (marching ants) down onto a digital paper or photo in your photo bin.
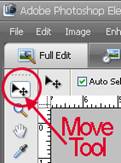
With the marching ants on your digital paper, select the Move Tool.
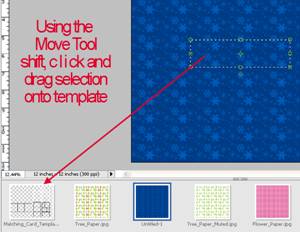 Shift, click and drag the selection onto the template in the photo bin. Shift, click and drag the selection onto the template in the photo bin.
Holding the Shift key as you click and drag ensures that the selection will align itself in the correct location on the template. As you drag and drop, release the mouse click before releasing the Shift key.
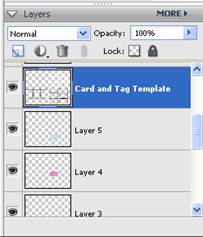
To continue, select the template layer in the Layers Palette by clicking on it. Select the Magic Wand Tool and continue filling selections with digital papers and photos until your template is complete.
You can add text on top of your tag by selecting the template layer in the Layers Palette. Switch to the Text Tool and begin typing.
Embellishments can also be dragged on top of the template. Make sure that the embellishment layer is above the template layer in the Layers Palette so that it will be visible. Be sure to flip embellishments upside down on the card back so that they will be positioned correctly when the card is folded.
When you are ready to print, you will want to use photo paper for the best results. Select a paper such as Matte Heavyweight, Double-sided Matte, or Matte Scrapbook paper which is cardstock weight, and does not have a watermark on the back (since you'll be using both sides of the paper for your card.)
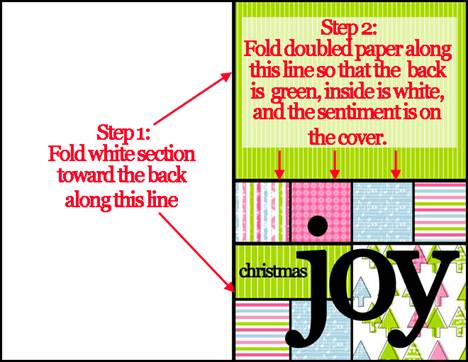
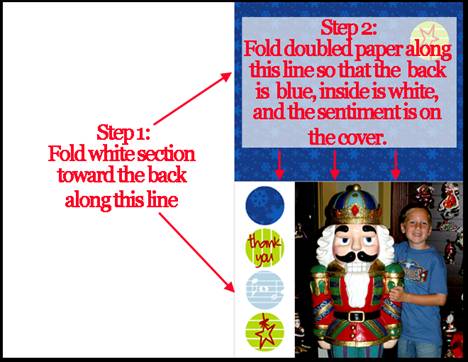
Folding Instructions for Card and Tag Template:
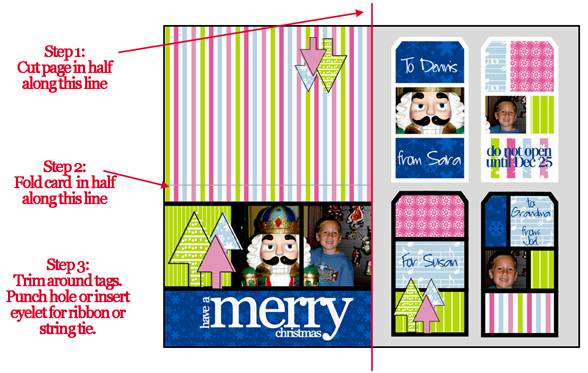
Folding Instructions for Card Templates:
Create Tags and Cards That Coordinate With Your Storyteller Project:
For a designer look, create a card and tag that coordinate with a gift of a Storyteller Book.

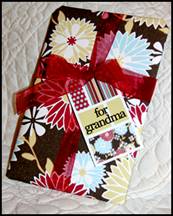
Print a sheet of digital scrapbook paper to wrap the gift in.
Ways to Use Your Tags:
Tags can be used as
- To/From labels on packages
- Backpack tags
- Luggage tags
- Embellishments on scrapbook pages and cards
- Bookmarks
- Labels on gifts from your kitchen - homemade goodies, mixes, food baskets
- Christmas tree ornaments
- Gift bag labels
- Miniature cards
Nutcracker Sweet credits:
fonts:
2Peas Simple
GE Quartz
Gold effect:
Atomic Cupcake |