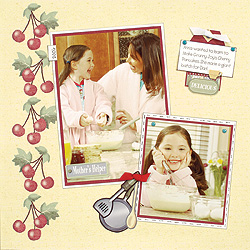
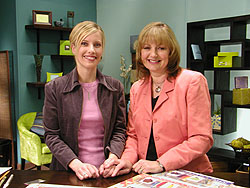
Mother’s Helper Designed by LeNae Gerig
Presented by Sara Naumann
For more information visit:
LeNae’s Designer
Tip: Made-to-match papers and embellishments take the time
and stress out of scrapbooking. LeNae took care to mat her photo
onto a solid or solid-looking paper before placing it onto a patterned
background. This mat—or frame—separates the photo from
the background to make the photo stand out.
Materials
Needed
In the Kitchen Finished in a Flash
White cardstock
Black inkpad
Black pen
Sandpaper
Zots™
Instructions
1.
Use the yellow with cherries border as the background.
Mat the photos on red checked paper, then on white. Ink the edges
black. Use the black pen to add faux stitching around the white
edge of the smaller photo mat. Glue the larger photo to the upper
right corner next to the cherries border. Glue the smaller photo
overlapping the larger one at the bottom right.
2.
Punch out the tag, kitchen utensils and word fragments
and smooth the edges with sandpaper. Glue the utensils to the left
of the smaller photo. Add a knotted piece of red grosgrain to the
spatula handle with a Zot™.
3.
Journal on white cardstock and trim to a rectangle.
Ink the edges black and add a blue mini brad in each top corner.
Glue to the red portion of the tag punch-out. Add a yellow cup brad
to the bottom of the journaling and the “delicious”
fragment at the bottom of the tag. Glue to the upper right corner
of the page. Knot a piece of white grosgrain and attach at the top
of the tag with a Zot™.
4.
Journal the year on white paper, trim and ink the
edges. Glue flush with the photo edge on the upper left side of
the large photo. Add the “Mother’s helper” fragment
to the bottom of the photo.