| 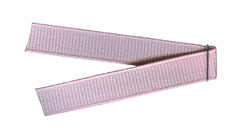 The
most realistic ribbons, strings, and twine we have found
are scanned or photographed elements. A scanned ribbon looks
just like the real thing and gives your page a look of authenticity
and without the bulk. The ribbon color can be changed by
clicking on Enhance | Adjust Color | Adjust Hue/Saturation
(Ctrl U) and adjusting the sliders. The
most realistic ribbons, strings, and twine we have found
are scanned or photographed elements. A scanned ribbon looks
just like the real thing and gives your page a look of authenticity
and without the bulk. The ribbon color can be changed by
clicking on Enhance | Adjust Color | Adjust Hue/Saturation
(Ctrl U) and adjusting the sliders.
If you cannot find the perfect ribbon to scan or photograph,
you may need to create one digitally. To create digital
Grosgrain ribbon, just follow these easy steps:
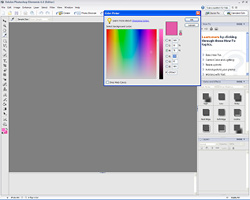 Step
1: Choose the color of your ribbon and set it as your foreground
color by clicking on the Set Foreground Color
box on the bottom of your toolbar. Step
1: Choose the color of your ribbon and set it as your foreground
color by clicking on the Set Foreground Color
box on the bottom of your toolbar.
This will bring up the Color Picker which
will allow you to choose any color you wish.
Once you have set the Foreground Color, Set the Background
Color in the same way. You’ll want to set the background
color as a slightly deeper version of the foreground color.
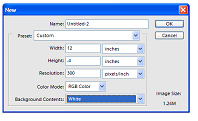 Step
2: Open a new document in Photoshop Elements by going to
File | New | Blank File and set your width
to 12”, your height to .4, your resolution to 300,
Color Mode to RGB, and Background Contents to White. Step
2: Open a new document in Photoshop Elements by going to
File | New | Blank File and set your width
to 12”, your height to .4, your resolution to 300,
Color Mode to RGB, and Background Contents to White.
Step 3: Fill your ribbon layer with the foreground color
by clicking on the Paint Bucket Tool (K)
and then clicking on your file.
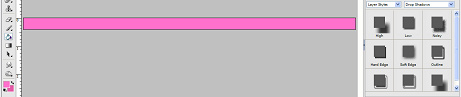
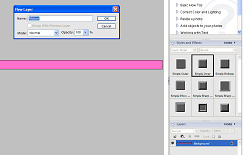
Step 4: We want to apply an effect to this ribbon, so we’ll
have to double-click on the layer in the layers palette
in order to rename the layer (styles and effects cannot
be applied to Background layers). Just enter a name for
this “new layer” and click on OK. Now we can
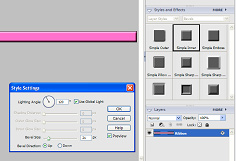
give the ribbon a soft bevel by selecting Styles
and Effects | Layer Styles | Bevels | Simple Inner.
You can adjust the size of the bevel by clicking on the
“f” on your ribbon layer in the Layers Palette.

Step 5: Next, switch the foreground and background colors
by clicking on the curved arrow near the foreground and
background color icons.
Step 6: Rotate your ribbon by choosing Image
| Rotate | 90° Right.
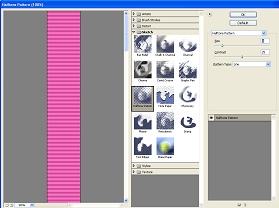
Step 7: Select Filter | Sketch | Halftone
Pattern from the tool bar. This will bring
up the Halftone menu. Set the pattern type to “line”,
the size around 3 and the contrast around 25.
Step 8: Click OK and admire your digitally created
ribbon!
|
 |

Credits:
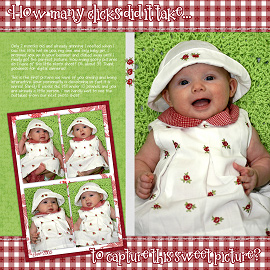
How many clicks: Papers, layout and photos by Angela Moffatt;
fonts 2Peas Mister Giggles and 2Peas Raspberry.
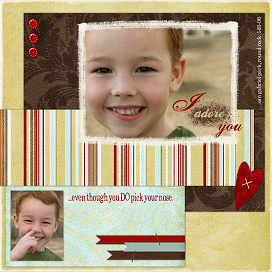
I Adore You: Gina Cabrera Daydream Kit from www.digitaldesignessentials.com;
layout and ribbons by Leigh Brown. |